I can remember as a little girl collecting little treasures from nature and making all kinds of fun new creations with them, everything from a clover ring, a crown of leaves to a beautiful braided necklace of wild flowers to hang around my neck.
Another fond memory was taking all those collected flowers and leaves and laying them under the bright sunlight on top of a piece of construction paper. I would carefully place them in a pretty pattern or design and then I would wait… and wait some more. I would return to my little leaves and flowers all sitting quietly on the construction paper often and just lift up a corner to see if anything had happened only to find I had to wait a little longer. I would have to wait for hours and usually an entire day would have to pass by before I could see all my patience pay off. Finally in much excitement I would lift my arranged treasures and my beautiful piece of art would be revealed. I was always so in awe of how the sun had miraculously faded the color from the sheet of construction paper except where my treasures had rested. As I grew older I got to experience the same excitement in art classes, but this time we used special photo paper and the process was much quicker.
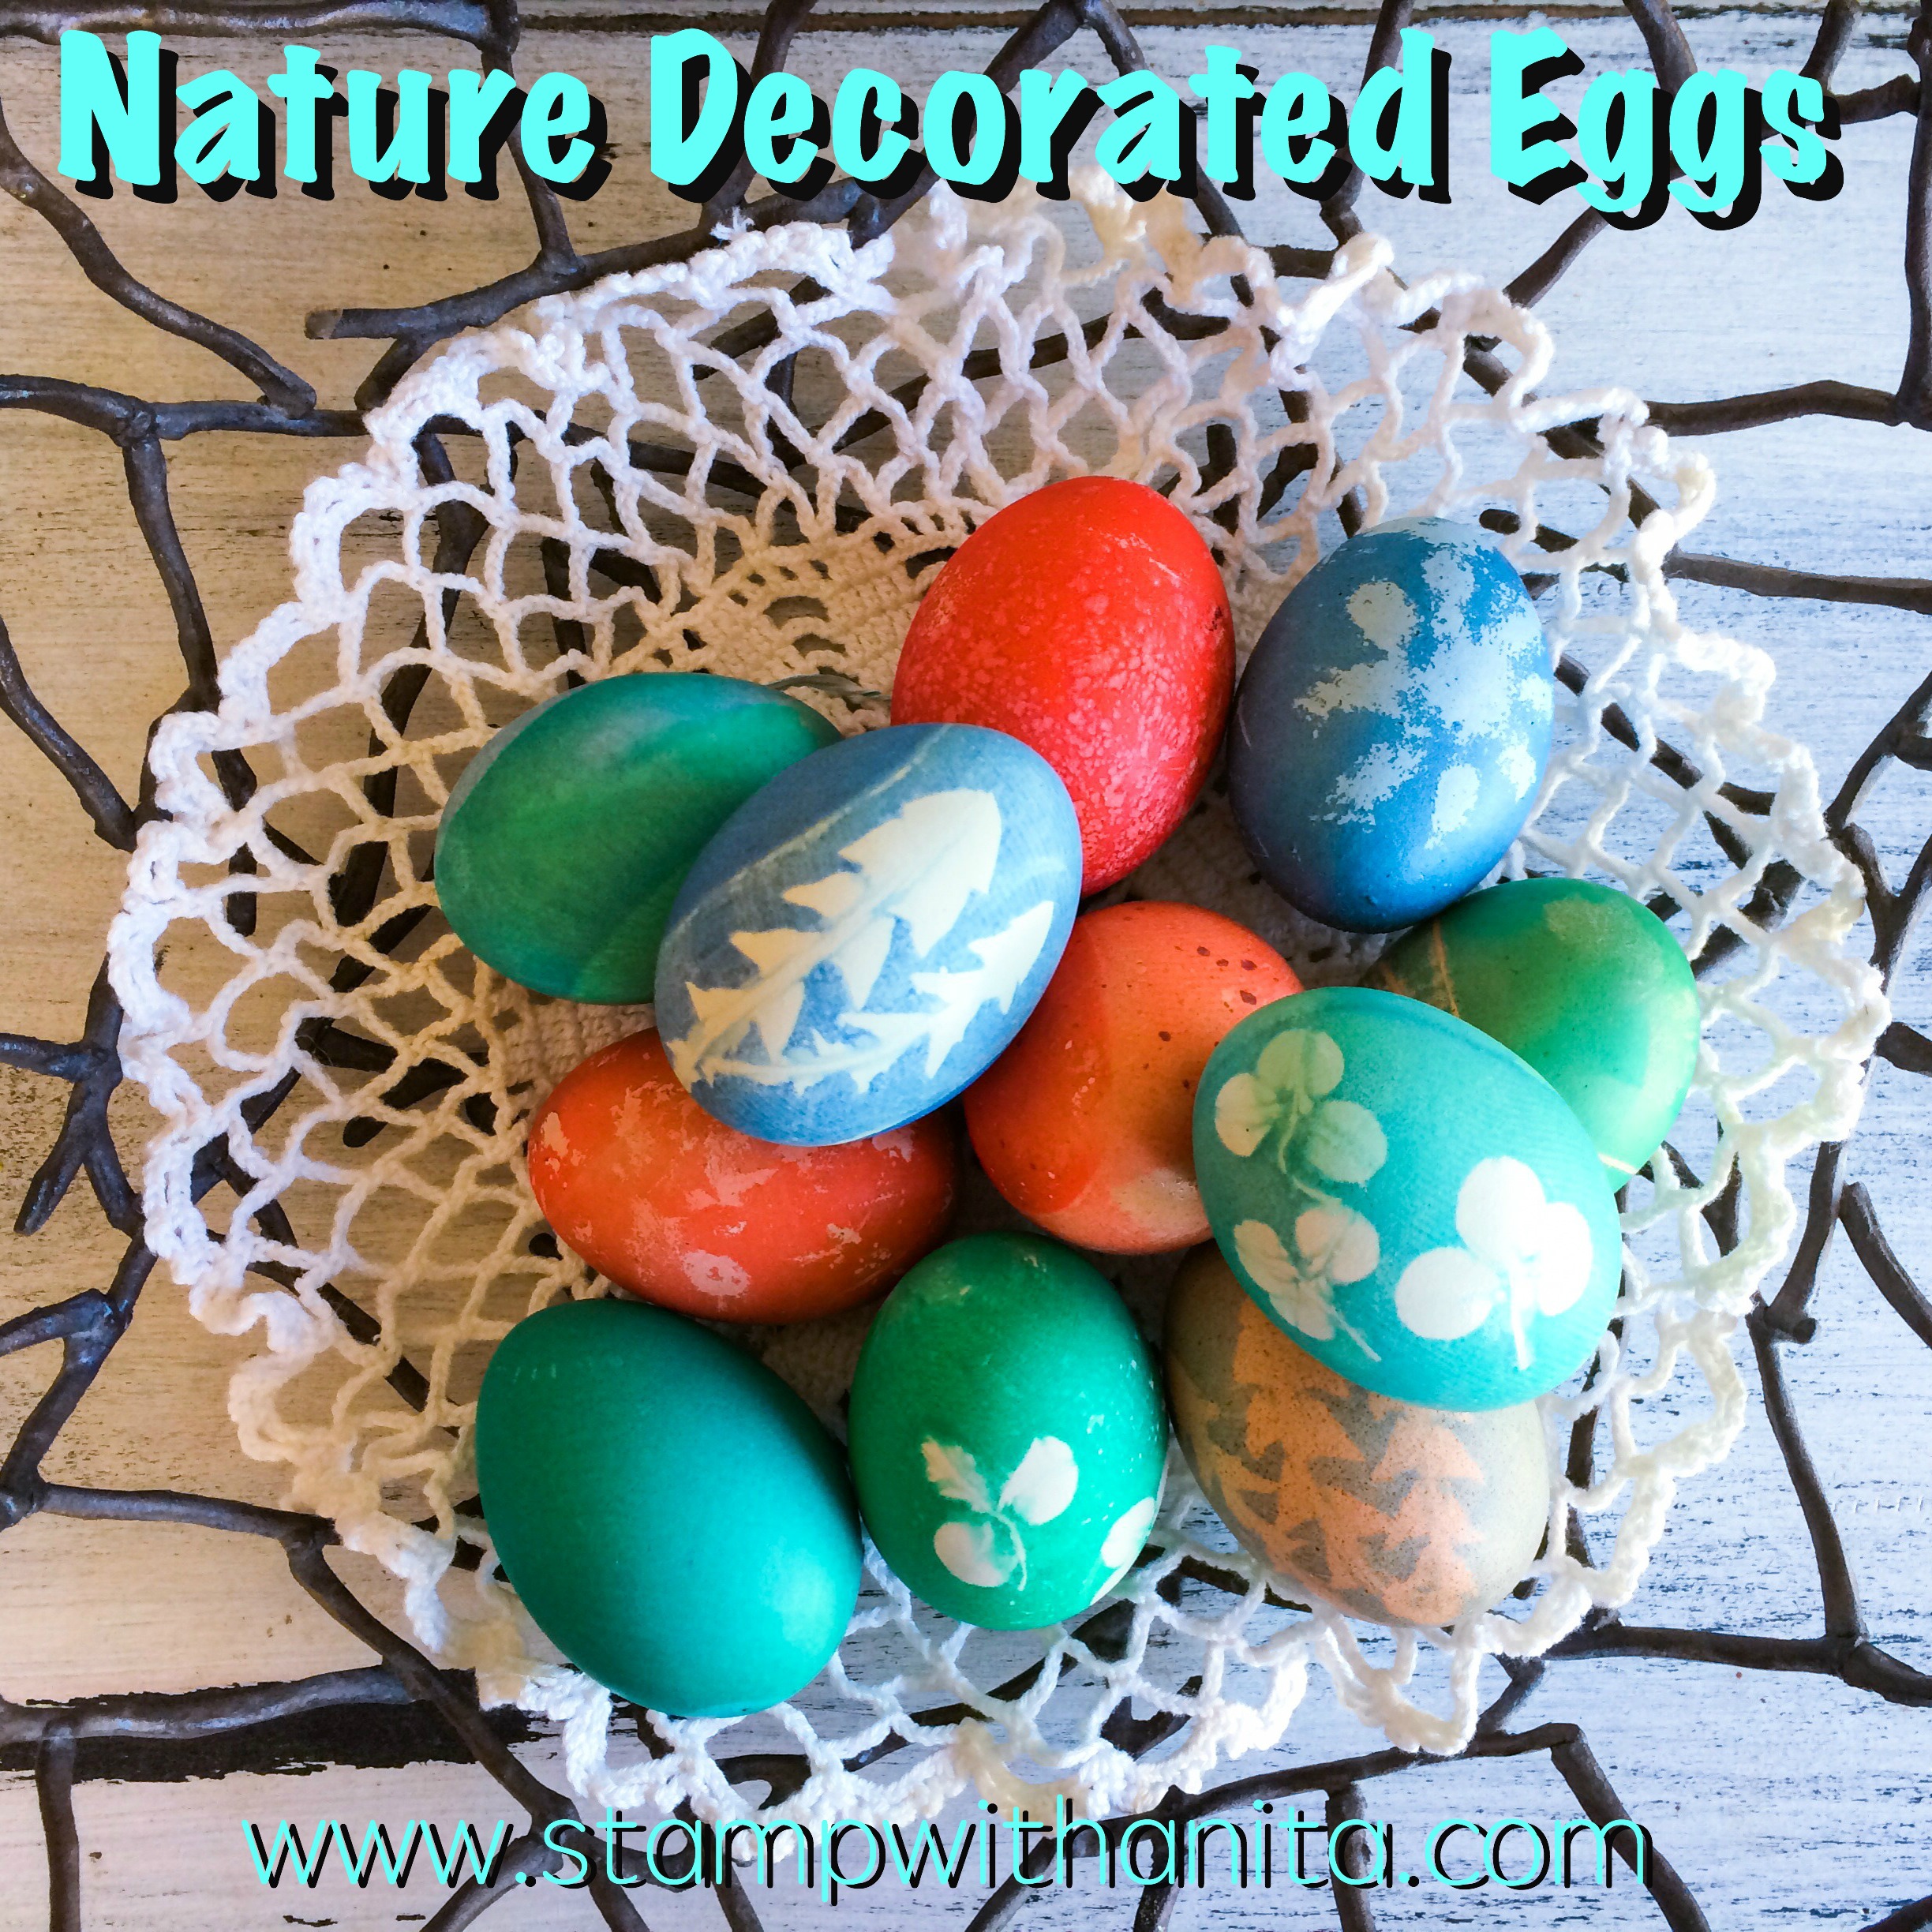
Today I’m sharing with you these beautiful nature decorated eggs. They remind me of those nature made prints from so long ago and are so fun to make for your Easter celebrations. And they just simply make me smile every time I look at them.


Start by gathering small leaves and sprigs. Use a small paintbrush and egg white to “glue” your leaf onto a hard boiled egg. Gently press leaf with your fingers until it sticks to the egg.

Cut squares about 4 inches or so large from a nylon stocking and lay your egg in center of square and carefully pull nylon around it. I used a twist tie to hold nylon in place.


Carefully place egg in dye and wait… for about 5 to 10 minutes. The longer you keep egg submerged the deeper the coloring you will get.


Remove egg from and blot with a paper towel. Remove twist tie and unwrap nylon to check color. If your egg isn’t the desired color, retie, and continue submerging egg in dye. When the desired color is achieved, remove egg from nylon.


Peel away leaf carefully to reveal your piece of art. Blot egg with a paper towel and allow it to dry on paper towels.


Just look how fun these are!!!!


This technique works great on white or brown eggs…


And they make a fun and beautiful addition to your Easter celebration.

Thank you for allowing me to share this creative way to decorate eggs. I hope you give it a try and let me how it goes.

Check back in later this week because I will be sharing how I now steam my “straight from the hen” eggs instead of hard boiling them and how easy they are to peel!
I hope you have a wonderful Easter celebration with your family and friends. Easter is one of my favorite holidays as our family gathers together to celebrate our Risen Lord. If you don’t have a church family I personally invite you to join us at Cypress this weekend. We have a total of 10 services at two locations.
Alton Darby Campus
Friday, April 3rd at 7pm
Saturday, April 4th at 3:30pm, 5:00pm & 6:30pm
Sunday, April 5th at 8:30am, 10am, 11:30am, 1:00pm
Dublin Campus
Sunday, April 5th at 9:30am &11:00am
Here is just a preview of what you will experience…
ONE Day… ONE Way… Be FREE!!! from Cypress Church

“Praise be to the God and Father of our Lord Jesus Christ! In his great mercy he has given us new birth into a living hope through the resurrection of Jesus Christ from the dead.” 1 Peter 1:3

Blessings and Happy Stampin!
Anita Haines